
As a social media manager, I have to find quick and easy ways to get things done. Social media in itself can be a total time SUCK. When you’re on Facebook, Twitter, or don’t even get me started with Pinterest… where does the time go?
Creating images for social media can also take away some of your valuable time, even with an awesome tool like Canva.
So I have for you some easy Canva hacks for social media managers and entrepreneurs that I use on Canva on a daily basis. These hacks will definitely help you.
You’ll learn about batching, Canva layouts, blank templates, frames, copy features, and change default settings. Here we go!
1. Batch It Up!
Just like baking cookies, you have a good amount of neatly spooned cookie dough in rows on the cookie sheet. In Canva, you can create your own batch of creations. You can have 30 designs in one batch and name them to organize your download files. Once you download all 30 designs, they will be placed in a folder in your downloads waiting all toasty and ready to serve. Mmm… hot out of the oven. Not really. hehe
Okay enough cookie talk; I’m making myself hungry now. LOL

I’ll show you what I mean.
Say I want to do a whole batch of Facebook templates or quotes. This is what you can do to save time and essentially money.

Click on the Facebook design.
Once you see your preview, you must name your batch and pick out your layout on the left side.

Now when you pick out a layout keep in mind what type of image you are doing. Ask yourself a few questions.
- Will it have a photo or graphic?
- Do you want a particular typeface?
- What style do you think will work best?
If nothing really catches your eye, you can always use a blank template as it is. Actually that is my preference and I just add an uploaded photo. To find great photos, you can check this post of all my fave sites with FREE amazing high-res photos.
To continue adding to your batch, click on Add a New Page below your preview template.
Here’s a tip – When you use a Canva layout with the built in photo background, the logo that you want to place on it will not work without a frame.
WHY, you may ask? The logo that you upload is considered a photo so if you place it on the photo grid it automatically pops it in like so.
![]()
At this point you have 2 choices:
Choose a Canva layout or use a blank template.
This is what you need to do to brand your image if you use a Canva ready-to-use layout.
You need to find a frame that your logo can fit in. Once you have the frame, you can pop in the logo and move the frame where you’d like on the photo layout.
Did you see the gif above? Whoops! The logo takes over the background soooo … what do you do? Find a frame that will fit your logo.
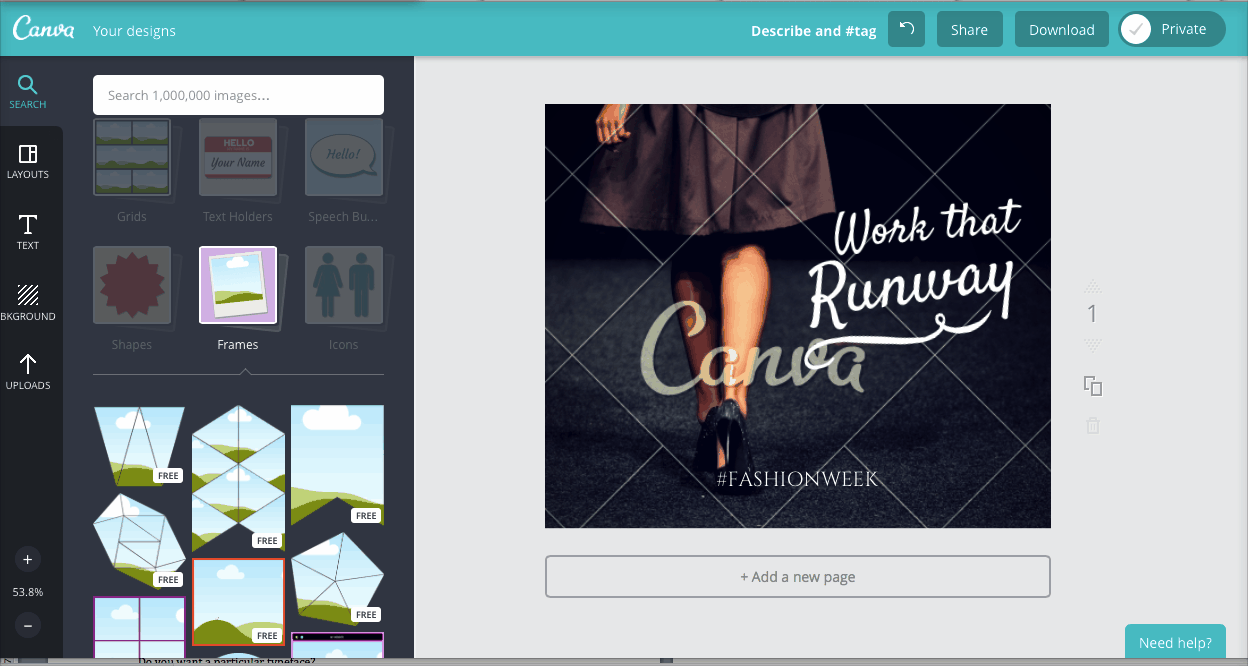
2. Frames
Here’s where you find the frames:

You’ll find many shapes and sizes of frames. Once you find the one that works best, you’re good to go.
3. Canva Layout (Ready-to-use)
The frame will allow you to place right on top of the background photo.
Like so:
4. Blank Template
If none of the layouts are appealing to you just keep it blank. Upload a photo, graphic, or choose one of Canva’s backgrounds. If you do upload a photo or graphic, simply drag it to your blank template and stretch it to size. Check out my example below:
![]()
You can then place any of your uploaded photos on top of your stretched photo, including your logo. No need for a frame.
5. Copy
The copy feature has got to be the most significant feature that I use to move things quickly and more efficiently. I use the copy button next to the design template after I have completed my first design. If I want to use a branding template and just switch out photos that would work too.
Take a look:

Another way to use copy – you know that frame we looked for to fit our cute logo. Imagine looking for that frame about another 29 times. Um… I don’t think so. Looking for a particular frame is a time suck! Don’t do it. Look for it for the first design and then copy all the way through to your 30-page limit.
Here’s how:
Once you have your first design completed, click on the Add a New Page button or the copy button on the side depends on what you’d like to design next. Click on the framed logo from your first design and click on copy from the pop-up toolbar. Then you can drag the copied logo to your next page.
Like so:
![]()
Bravo! Yes I know these hacks were awesome. But wait I have 1 more for you…
6. Change Default Text Settings
Click on Text and you’ll see the first 3 rows to add freeform text. Below them there is a Change Defaults option. This is a great feature to use your favorite font for your URL for the images in your batch. This can save you time as well however if you use the URL on each image then copying can work just as well.

I hope these time saving hacks for Canva will help you as a social media manager or solopreneur and ultimately save you time.
Time is money baby! Save time & moolah with these Canva hacks for graphic design. – TWEET THIS!
Are you a Canva enthusiast like me? What are your favorite Canva hacks, tips, or tricks? Let me know in the comments.
Take care,
Lillian De Jesus

Love Canva, and some great tips here. Some I even did not know :>
The image/logo on the background issue is a problematic one, I don’t use a frame to solve it, but a transparent overlay (as i need them in most cases to highlight the logo against a dark/light background). What also works is if you have it on the page already and moving it causes the same problem, then use the arrows (or Shift + arrow for bigger moves)
Hey there Ashley,
I love the way you use the transparent overlays on your images! There has to be some patience when moving things around. 😉 I agree it can get a bit problematic. Thanks for the move shortcut, I haven’t spent a lot of time with keyboard shortcuts.
Thanks for stopping by & take care,
Lillian 🙂
Use a frame for the logo! Why didn’t I think of that? I think you just saved me a couple of hours per week! Thank you 🙂
Hi Jan,
Ha! I’m so happy to hear that I can be of help. Yay!
Take care,
Lillian
Hi Lillian. I’ve been hooked using Canva since I worked with you on your book. Each day it seems like you find a new feature to share with us. Thank you.
I’m so glad to hear that Monna! I happy to share my Canva experiences. 🙂
Take care,
Lillian
Hey Lillian!
I have not yet used Canva but it sure looks like a very useful tool.
Your articles full of helpful tips are fantastic, I’ll be sure to come visit your site again once I am able to get Canva and am ready to learn how to use it time effectively 🙂
HI Sonia!
Thanks for checking out this article out! When you do try Canva please let me know how you like it.
Take care,
Lillian
Amazing ,how you do this ,it is really a good tool and easy to use.
Thank you Lillian ,very useful
Erika
Thanks Erika! Glad I can help. 🙂
Reblogged this on ErikaBeyk and commented:
Great tool Lillian shows how it works
tucking this into my toolbox…I had no idea about batching Lillian!
Woohoo Marie! Glad you learned something from this post.
Take care,
Lillian
I love all of the tips that will help a novice or experienced Canva user. You have provided wonderful tips. Thank you.
Happy to help Elise!
Take care,
Lillian
Great Tips! Such a great information.
I agree with you that ”I have to find quick and easy ways to get things done.”And I have always been facing problems with Social Media Managers and Entrepreneurs and was trying to hire someone to help me.
I will tweet your post. Thanks a lot for sharing.
Thanks a lot!
Stefan
Thanks for sharing Stefan!